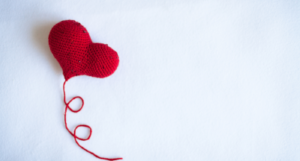
Crochet Flower & Heart
Classic Crochet Hat
Simple Knitted Beanie
Knit A Simple Rectangle For Blanket & Scarf
Crochet Flower & Heart


Classic Crochet Hat

Simple Knitted Beanie


Knit A Simple Rectangle For Blanket & Scarf